Do you have a Netgear WiFi router that can be accessible via an IP Address of Netgear Router by other network computers? When other folder sharing methods aren’t working, this can come in helpful. However, if you need to reset your Netgear router, it can be a pain in the neck. Why? Because you’ve been compelled to change all of your IP addresses. Thankfully, your WiFi router offers a feature that allows you to reserve an IP address.
In this blog post, we’ll show you how to reserve an IP Address of Netgear Router step by step. So, without further ado, continue reading by scrolling down.
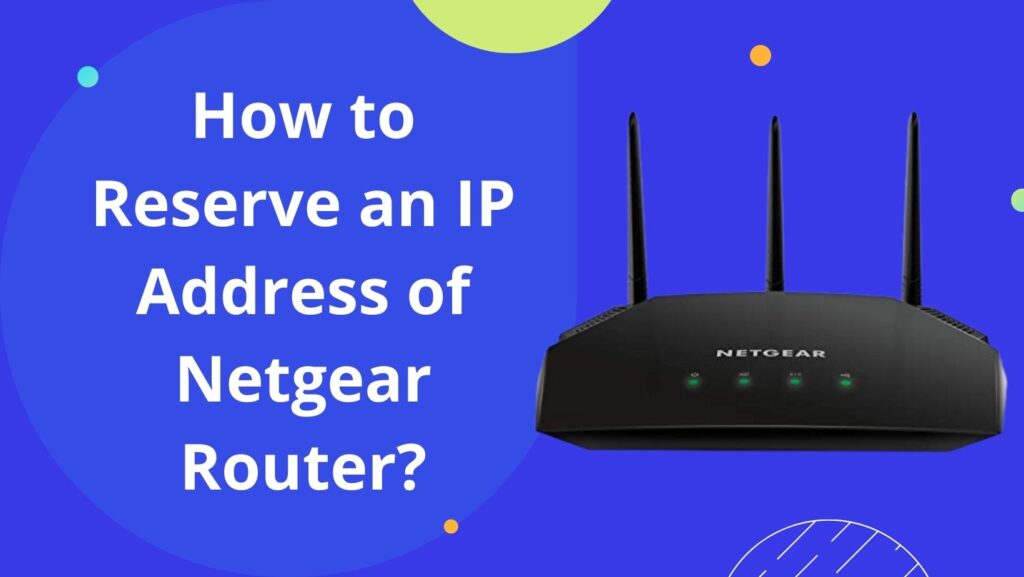
How to Reserve an IP Address of Netgear Router?
The following are the steps that will help you reserve an IP Address of Netgear Router:
1. First, connect the Router to the Modem.
To begin, make sure your Netgear WiFi router is correctly linked to your home’s modem. Both your WiFi devices should be connected by an Ethernet wire that is finger-tight and free of any damage.
If the Ethernet cable you’re using is damaged, have it mended right once or replace it with a new one.
2. Open a browser on your computer.
The following step is to open a web browser on your laptop. You can use any browser, whether it’s Google Chrome, Mozilla Firefox, Microsoft Edge, or Apple Safari, as long as it’s up to date. Otherwise, you’ll have trouble logging on to your Netgear router.
Note: If the web browser you’re using is giving you trouble, don’t get too worked up. Clear your browser’s cache and history. If the problem persists, you should try switching to a different web browser.
In the address box of your web browser, type the IP Address of Netgear Router. Then, to get to the Netgear router login page, hit the Enter key.
3. Enter default login Netgear router Password.
You must enter the default username and password of your WiFi equipment as soon as you arrive on the Netgear router login screen. If you’re unsure about any of the admin details, consult the Netgear manual for guidance.
4. Go to the Options tab and select Settings.
Go to the Settings option once you’ve successfully accessed the Netgear router login page using 192.168.1.1
The Settings option can be found in the web page’s top right corner. Then, as outlined below, follow the steps in order:
- Select Settings > Setup > LAN Setup from the drop-down menu.
- The section for Address Reservation will display.
- Finally, choose the Add option.
- Type the IP address you want to assign to your device in the IP address field.
- When you’re finished, click the Apply button to save your changes.
- Your modifications will be stored within a short period of time.
Note: Unless you reboot your device, the reserved IP address will not be issued.
To restart your device, follow the steps below:
- First and foremost, turn off your smartphone.
- Disconnect the power cord from your gadget.
- Now, pause for a few moments.
- Plug one end of the power cord into the wall socket and the other into your device.
- Turn your device on.
Examine your Netgear WiFi router to see if you’ve been successful in reserving an IP address.
Tip: Myrepeater.net setup is the web address for configuring or logging into wireless-n repeaters.